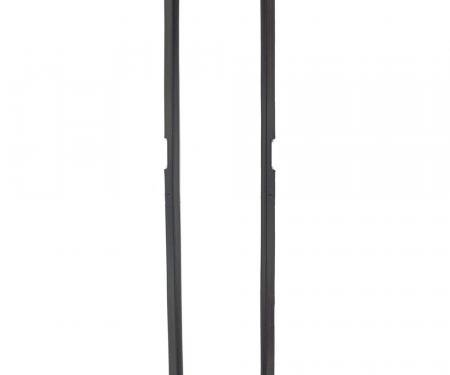
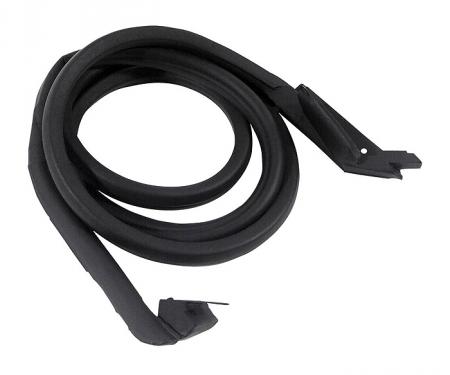
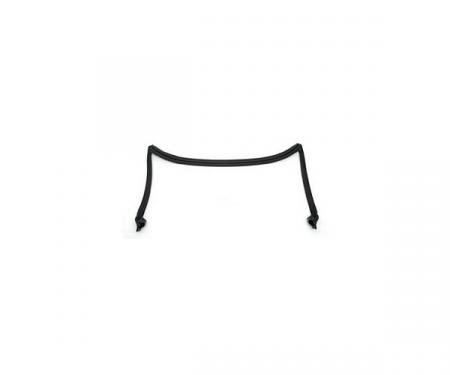
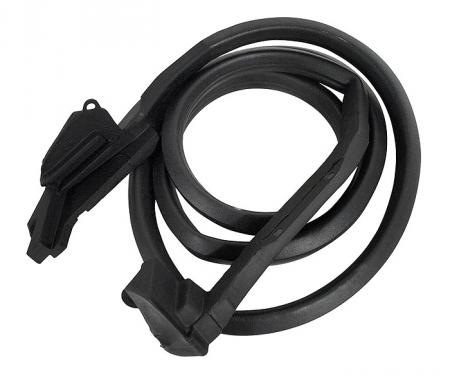
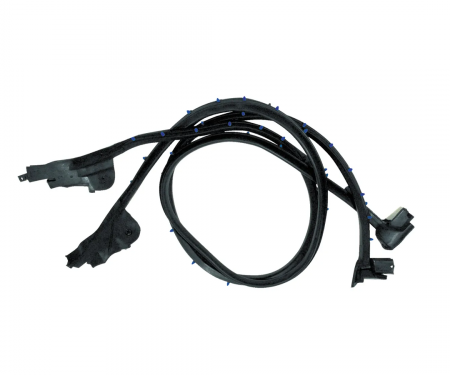
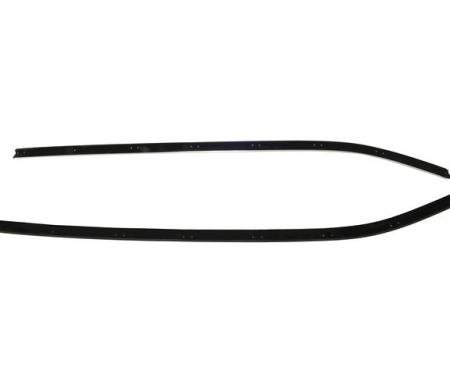
Restore the clean, finished look of your 1997–2004 Chevrolet Corvette 2-door Targa top coupe with this outer left and right beltline molding kit. Designed to replace worn or damaged beltline trim, the pair provides an OEM-style fit to secure and protect the roof-to-body junction, reduce wind noise and prevent water intrusion. Made from durable, automotive-grade materials with a factory-style finish, these moldings are a direct replacement that improves appearance and long-term reliability while being straightforward to install.
Features:
- Fitment: 1997–2004 Chevrolet Corvette, 2-door Targa top coupes only (outer left and right).
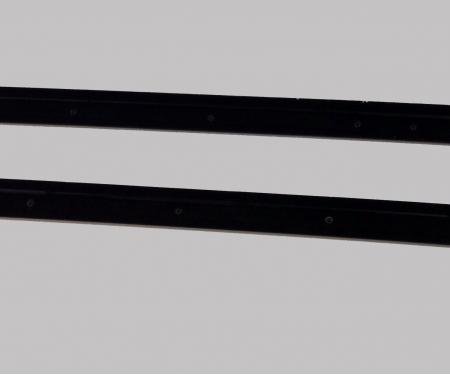
- Includes both outer left-hand and right-hand beltline moldings as a matched pair.
- Manufactured from automotive-grade, corrosion-resistant material for long-lasting durability.
- Restores factory appearance while helping prevent wind noise and water intrusion at the roof seam.
- Direct-fit design for accurate alignment and gap retention — no trimming required in most applications.
- Easy installation with basic tools, suitable for DIY restoration or professional replacement.
Installation / Application:
- Difficulty: 2/5
- Estimated time: 30-60 minutes
Instructions:
- Park vehicle on a level surface, engage parking brake and open targa top per vehicle procedure.
- Carefully remove the old beltline molding: remove any fasteners, then use a trim removal tool to pry the molding away from the body, working along the length to avoid bending or breaking the clip areas.
- Clean the mounting surface thoroughly with isopropyl alcohol to remove old adhesive, dirt, and wax. Allow the surface to dry completely.
- Test-fit the new left and right moldings to verify orientation and alignment; ensure clips and mounting points line up with the body.
- If provided or recommended, apply adhesive promoter to the vehicle surface where the molding will mate.
- Apply double-sided automotive tape or adhesive to the molding backing as directed by the adhesive manufacturer. For tape, press firmly along the length of the tape.
- Align the molding starting at one end and press into place, engaging any clips into their slots and compressing the tape/adhesive. Use masking tape or gentle clamps to hold the molding in position if necessary.
- If adhesive is used, allow recommended cure time before driving. If tape is used, apply firm pressure along the molding for several minutes; warming the tape slightly with a heat gun can improve bond in cool conditions.
- Reinstall any fasteners removed during disassembly and inspect the seam for uniform fit and gap. Test the targa top for proper sealing and operation after installation.
- Clean any fingerprints or residue from the new moldings and discard old parts and adhesive residue safely.
About Precision Replacement Parts
Since 1986 Precision Replacement Parts has been a trusted name in the Automotive Glass Industry.
Our knowledge and experience in manufacturing millions of extruded and molded EPDM Rubber, PVC and HDPE based plastics, and various stamped and extruded metal products for the classic and late model industries has allowed Precision to expand our services into multiple product markets.
Along with our own USA based production facility, Precision also partners with 25 different manufactures worldwide with a reputation as a global leader supplying OEM and replacement products to a number of different industries. Our partnerships along with our own in-house manufacturing and fabrication capability gives Precision a unique position in helping to meet the expanding needs of customers everywhere, providing them with a sustained competitive advantage.

Vehicle Fitment:
The Vehicle Fitment Guide is to be used as a general reference. The data has been provided by our suppliers and manufacturers and may contain errors or incorrect data. Always refer to a professional to verify correct fitment for your vehicle.
| Make |
Model |
Years |
| Chevrolet |
Corvette |
1997 - 2004 |